2. Preliminary Setup — PhotoMiroir documentation
2. Preliminary Setup¶ 
2.1. Plugging the PhotoMiroir¶ 
Simply plug the power line in the micro-USB port and the camera cable in one of the four USB port.
Ensure that the micro-SD card is fully inserted.
2.2. Wifi Setup¶ 
This section describe how you can set up the PhotoMiroir to connect to your local wifi.
2.2.1. Via the PhotoMiroir own wifi¶ 
The PhotoMiroir enables a local wifi network on which you can connect.
Once the PhotoMiroir is started, you connect your computer or your phone on
the wifi network whose name (SSID) is PhotoMiroir.
Then, you can use any web browser to navigate to http://photomiroir.fr and click on the admin link in order to access a configuration page allowing you to change the wifi configuration.
On the configuration page (see Fig. 2.1), click on the System and Network Configuration link ❹:
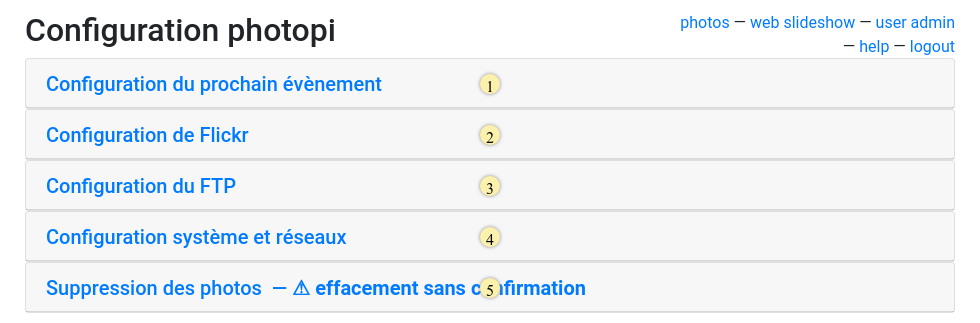
Fig. 2.1 Admin page
And then fill in the host_ssid and host_wifi_pass fields with the name
and the password of the wifi network you want the PhotoMiroir to connect
(see Fig. 2.2).
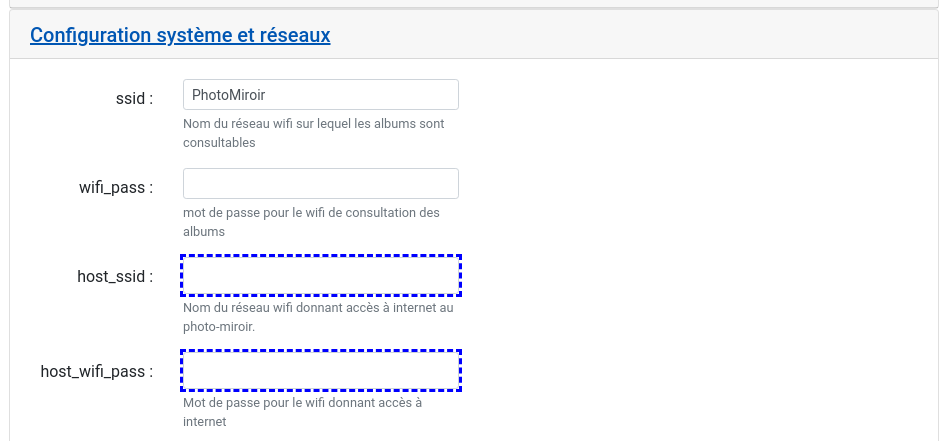
Fig. 2.2 Change wifi configuration
2.2.2. Via PhotoMiroir micro-SD Card¶ 
-
Put the SD card in another computer.
-
Ensure that the smallest partition is mounted.
-
Add a file named
wifi.confinto this partition. This file shall contain your wifi configuration according to the following format:network={ ssid="SSID NAME" psk="password string" }
-
Unmount the SD card and insert it in the PhotoMiroir .
-
Plug the PhotoMiroir. It then shall be available on your network.
2.3. Getting the local IP address¶ 
Once the wifi is configured as described in Wifi Setup, you can see the
Photomiroir IP address on the local network by first connecting to
http://photomiroir.fr/admin once connected to the PhotoMiroir wifi.
The top of the page will show something like (LAN IP : 192.168.0.44). You
can then connect to the Photomiroir via you local network simply by using
http://192.168.0.44 (replace with the address shown on your Photomiroir).
A simple and nice photo booth
Navigation
Contents:
Related Topics
-
Documentation overview
- Previous: 1. Features
- Next: 3. Configuration